Catch Render Test (Shot 32) from Sarah Talbot on Vimeo.
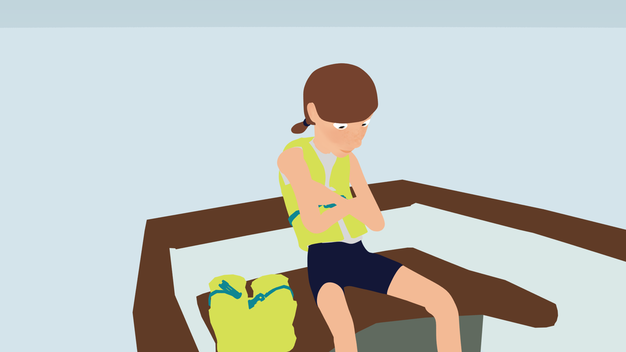
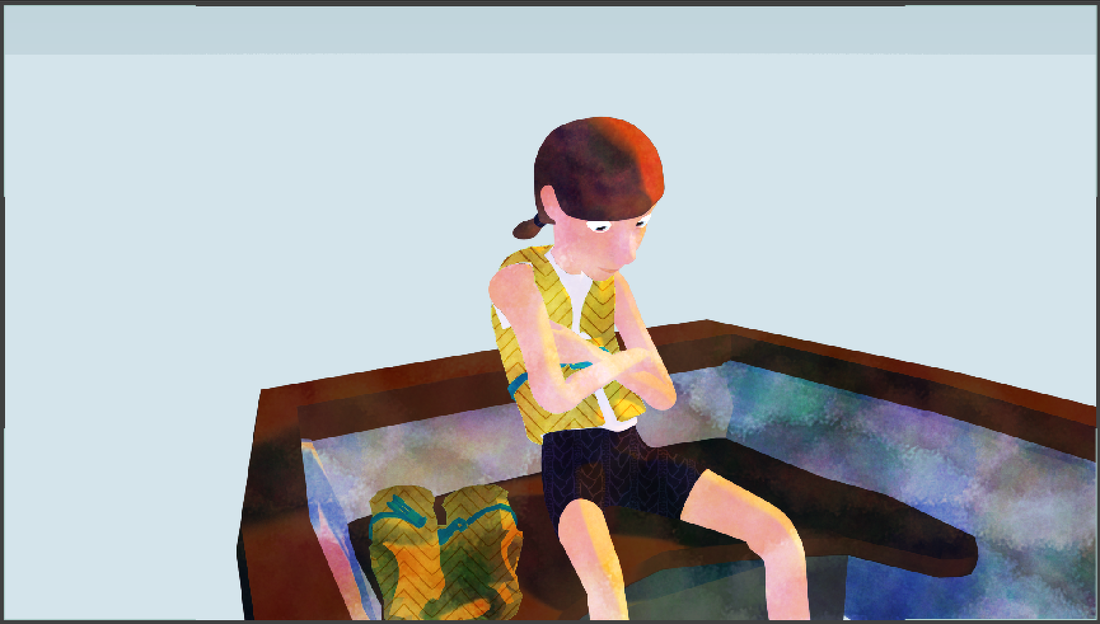
At long last I'm working on the look of the final composites for my upcoming thesis film, "Catch". The aesthetic which I would like to achieve in this film is a combination of watercolor backgrounds and "static textures" on different props and parts of the characters. I want to attain something like a paper-cut out collage look as all the different textures come together. Because of the painted aesthetic of the film, I also want the shadows to feel stylized. When I work with watercolor paint, I love how often shadows can have lots of contrast within themselves - they are not always smooth gradients, and come in a variety of colors in order to complement the color of light of the scene.
In my previous test, I was working with with a fairly simple setup in which I had one character, one texture and no background. I found the method I used was successful, but the next challenge was to account for scenes with multiple objects which each have a separate texture.
As I set up the render, I decided to use a variety of passes to aid in compositing overlays of textures, which I create in photoshop, and achieve the desired effect, breaking them down as follows:
|
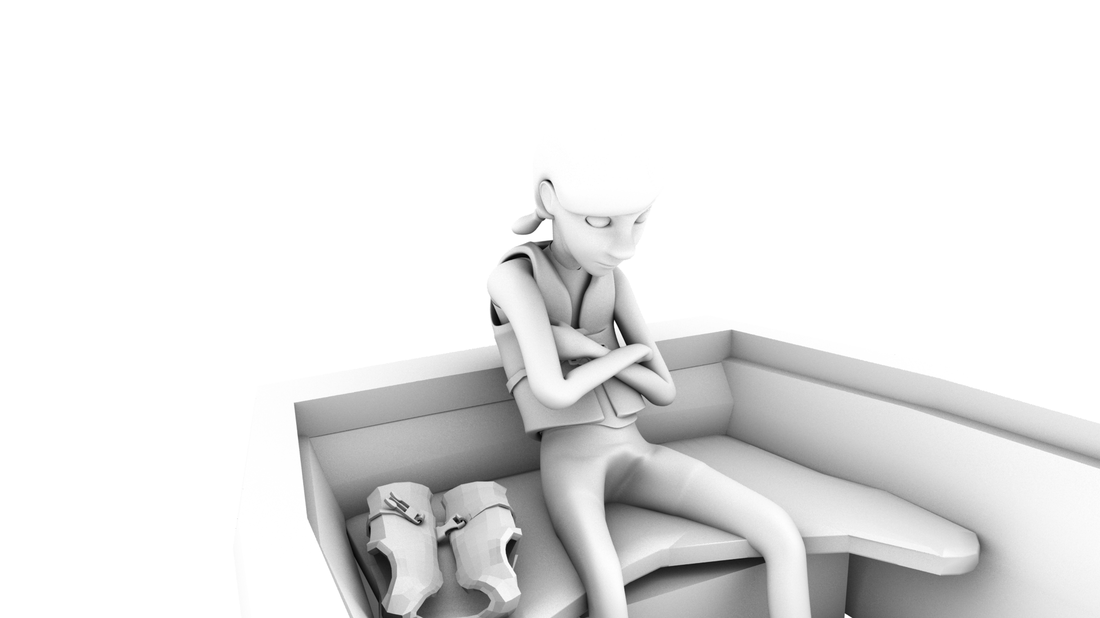
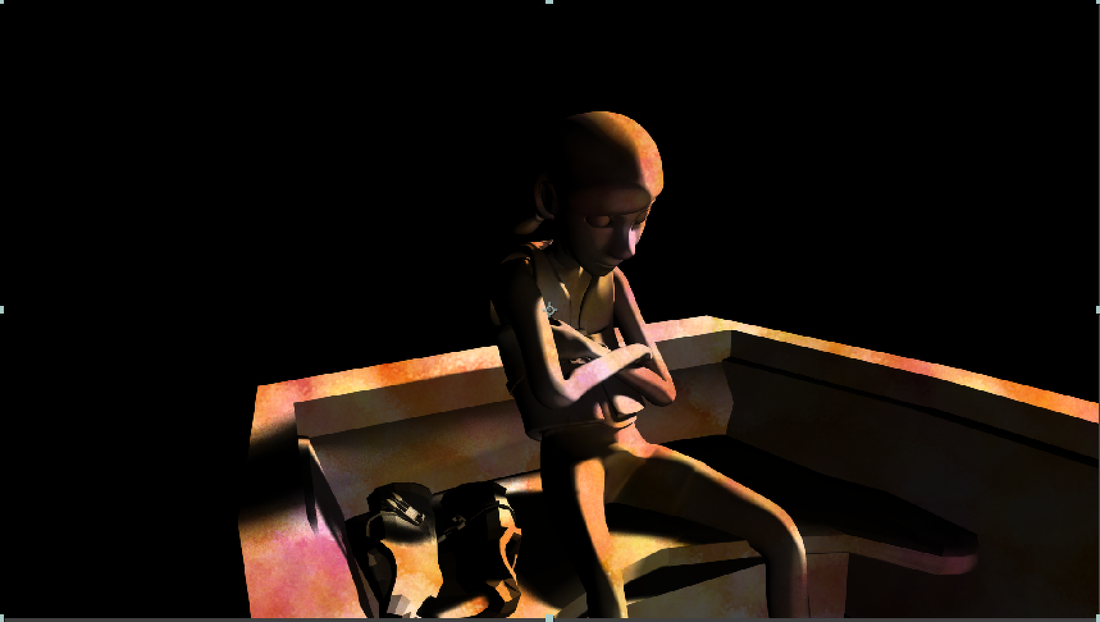
1. Albedo Pass
This pass is what I consider basic beauty pass for the film. All the objects are shaded simply with a surface shader of their base color. The shaders also include any "non-static" texture patterns, such as the freckles on the character. I have decided to separate shadows and highlights from this pass, unlike a standard "beauty pass", since separating these elements into their own passes will give me greater flexibility in how I decide use them in the final composite. |
|
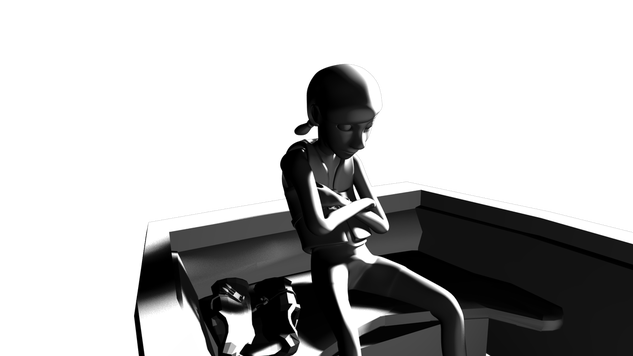
2. Shadow Pass
Creating a separate pass for shadows allows me to accomplish a twofold goal: 1. To create shadows with a posterized gradient instead of a smooth gradient 2. To obtain masks for both areas of light and areas of shadow, which can be used to recolor both light and shadow. |
|
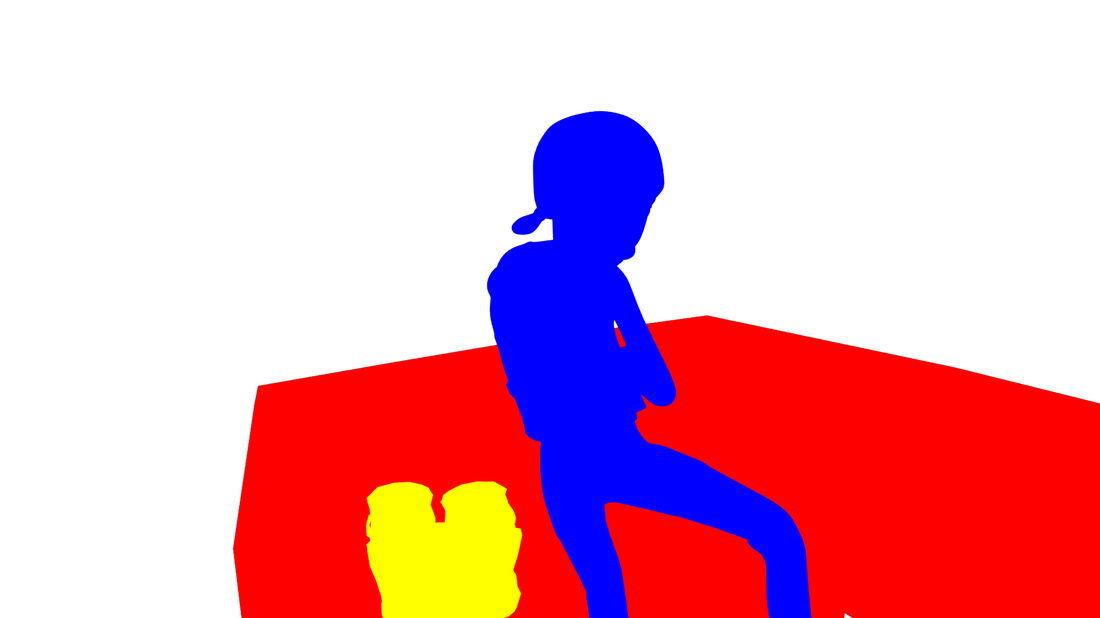
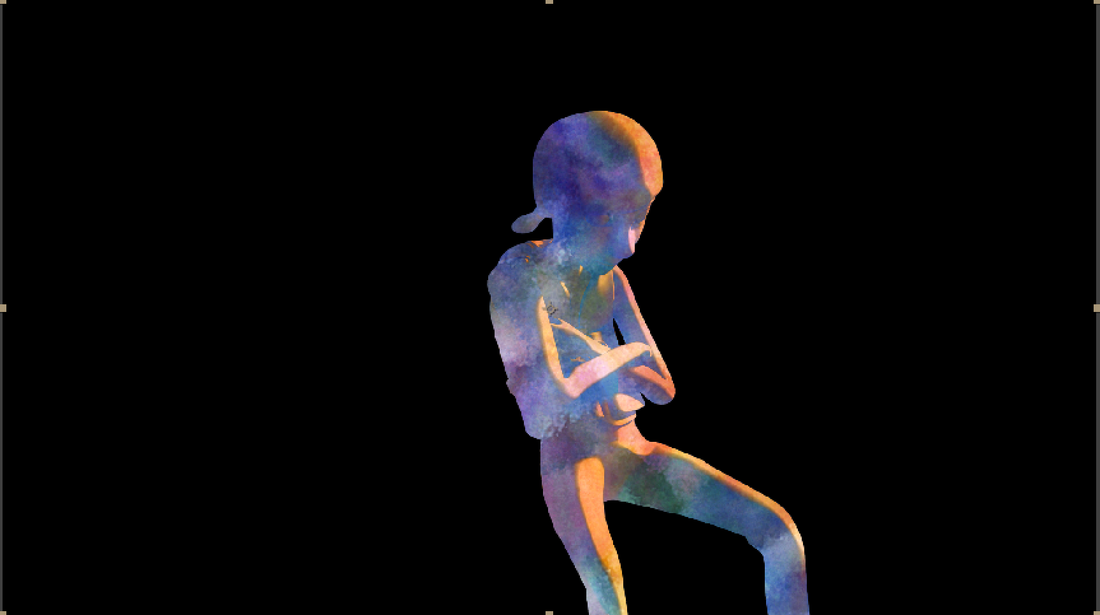
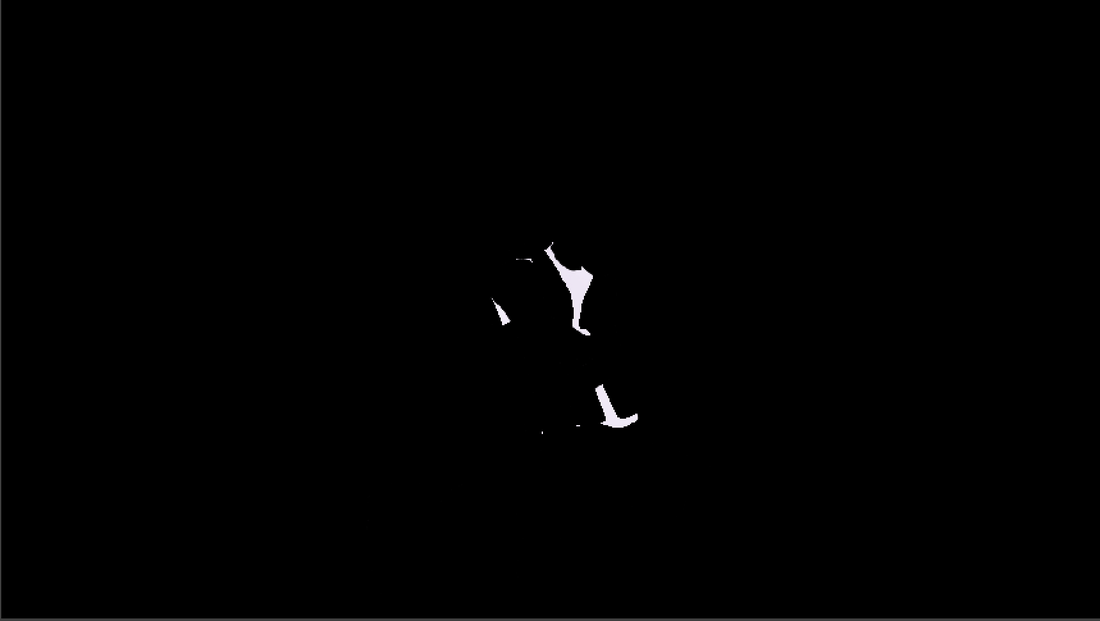
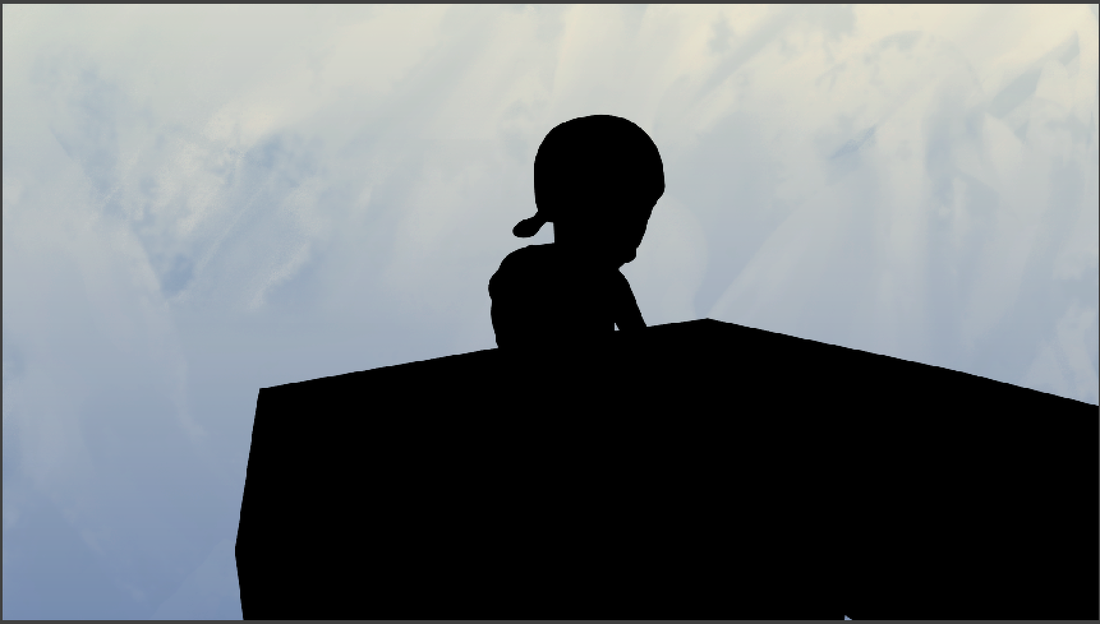
3. Character ID Mask Pass
In order to separate each full asset from the background, I created a render layer in maya in which each full asset is assigned a pure color in a surface shader. Later, I can isolate the colors in order to create masks for those assets |
|
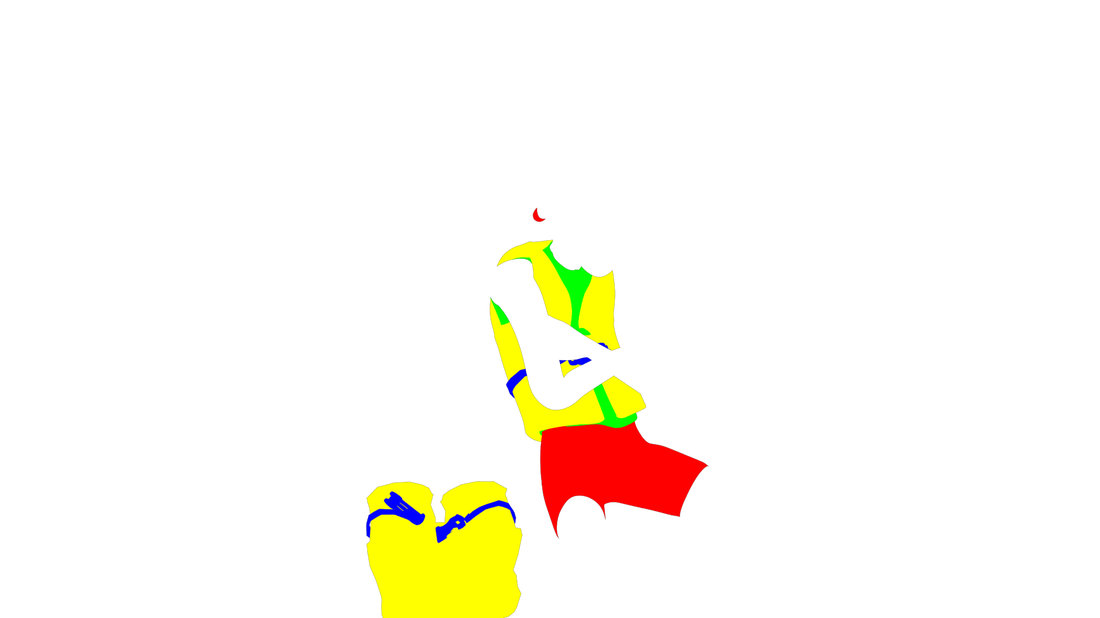
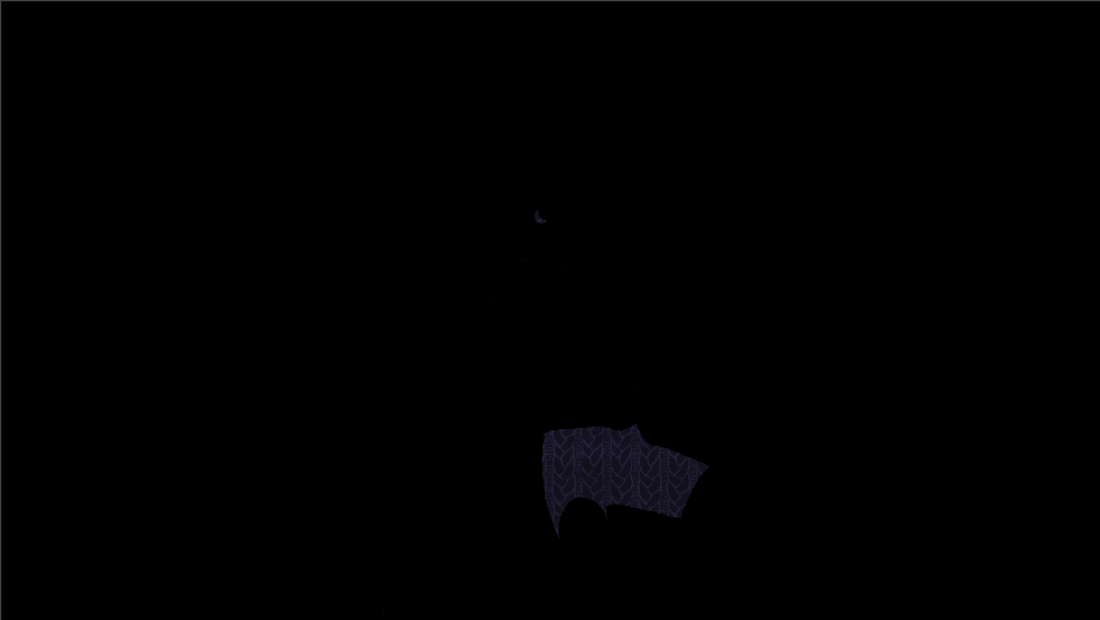
4. Sub ID Mask Pass
Similar to the Character ID mask, I further assigned surface shaders to specific objects (the character's clothes) which I want to fully mask out. Having these masks solves my specific problem of allowing different patterns to show through wherever the characters clothes are in the shot. |
|
5. Ambient Occlusion Pass
An ambient occlusion pass will help me maintain the sense of 3D volume by placing in the contact shadows. AO will be multiplied over the whole image in the final composite. |
Compositing It all together!
With all the different passes rendered, I began the composite in After Effects.
With all the different passes rendered, I began the composite in After Effects.

|
|

|

|
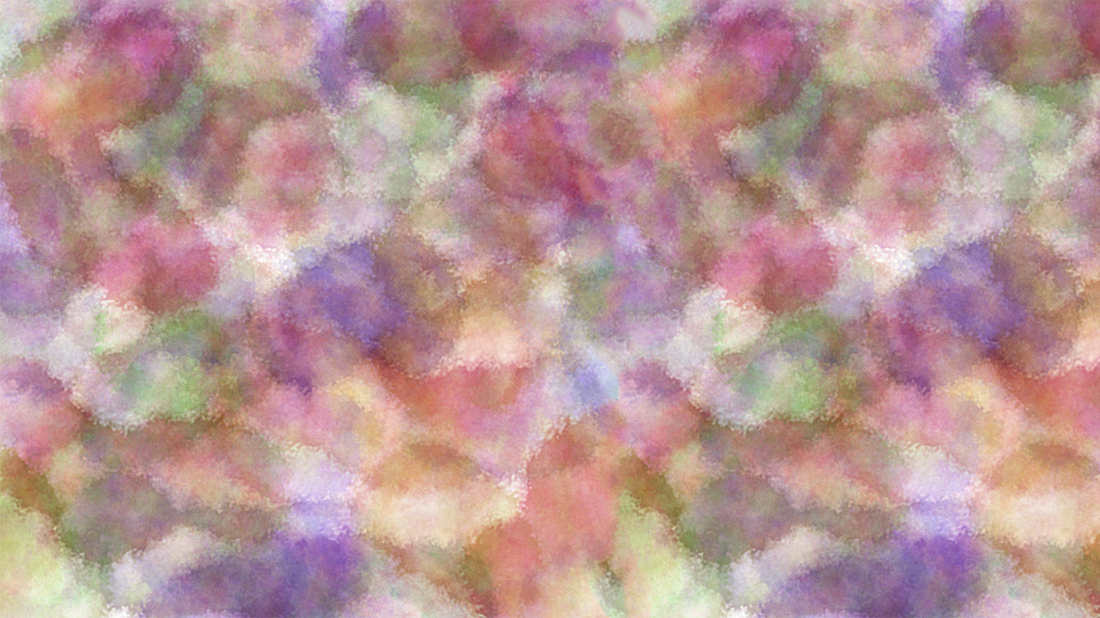
Each of these images will be used as a separate static texture on different objects in the scene.
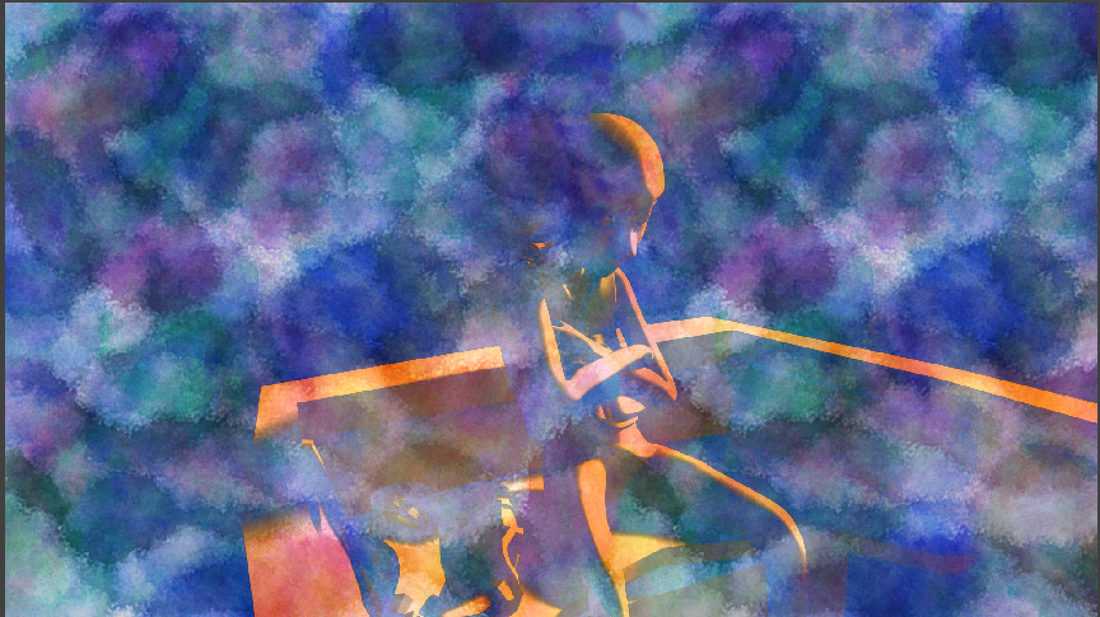
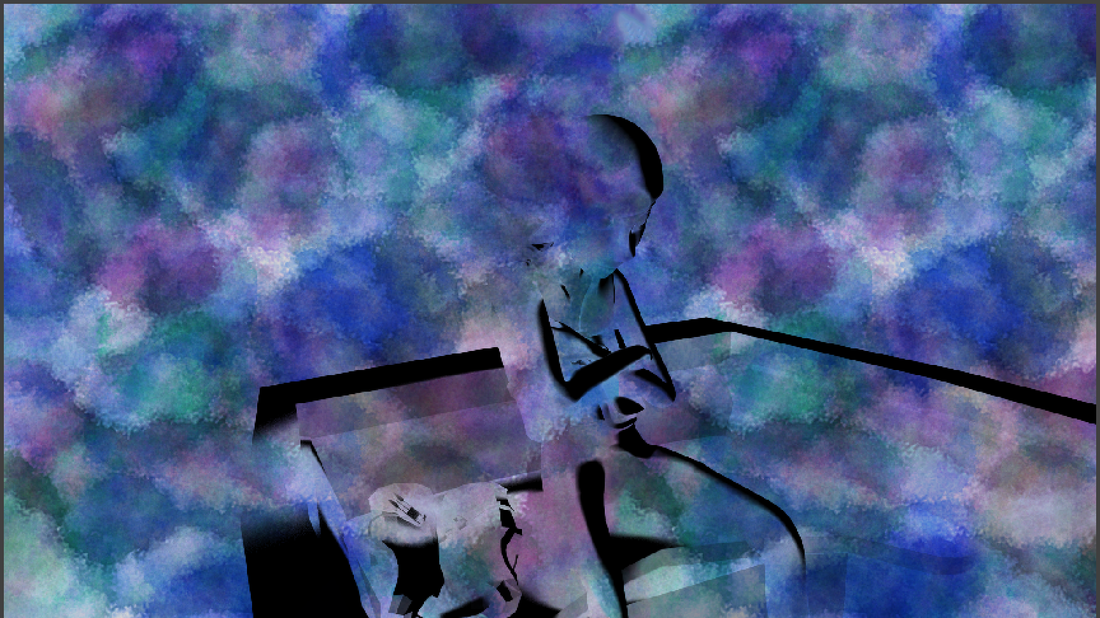
The first step is to overlay the static watercolor noise over the boat and character. I've associated this texture with the shadow/light pass. Two different masks from this pass, one to mask out the shadows and the other to mask out the highlights, control the color of the light and shadow. The below images show the masks which control the shadow color placement (cool colors), the light placement (warm) and the final composition of the two together.
|
|
After the highlight and shadow colors are put together, I can separate my character from the boat in order to get more control over additional color adjustments. For example, I might want to increase the blueness of the shadows in the boat, or reduce the blue on the character in order to complement her skin tone better. These compositions are then set as an overlay on the albedo layer.
|
|
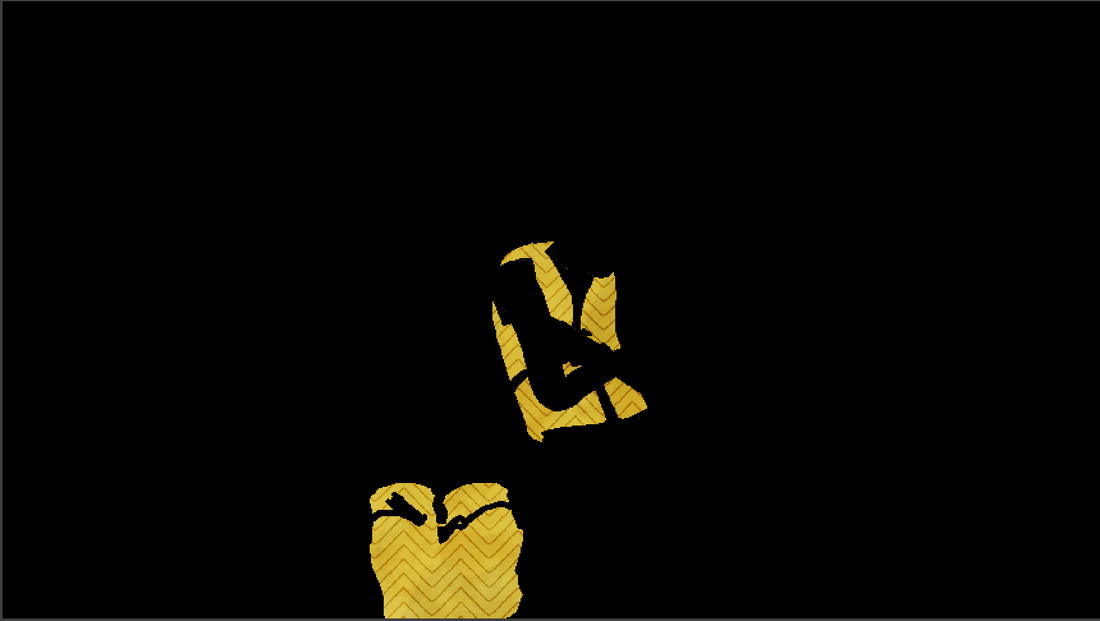
The next challenge is setting the masks from the static textures of the character's clothing. I created keys from the sub ID mask pass, and used each mask for a different clothing texture. The masked image will remain in place and the object will appear to move overtop that image!
|
|
|
These layers simply sit on top of the albedo layer, since the masks follow perfectly.
Now I can overlay the watercolor lighting overtop all the texture layers
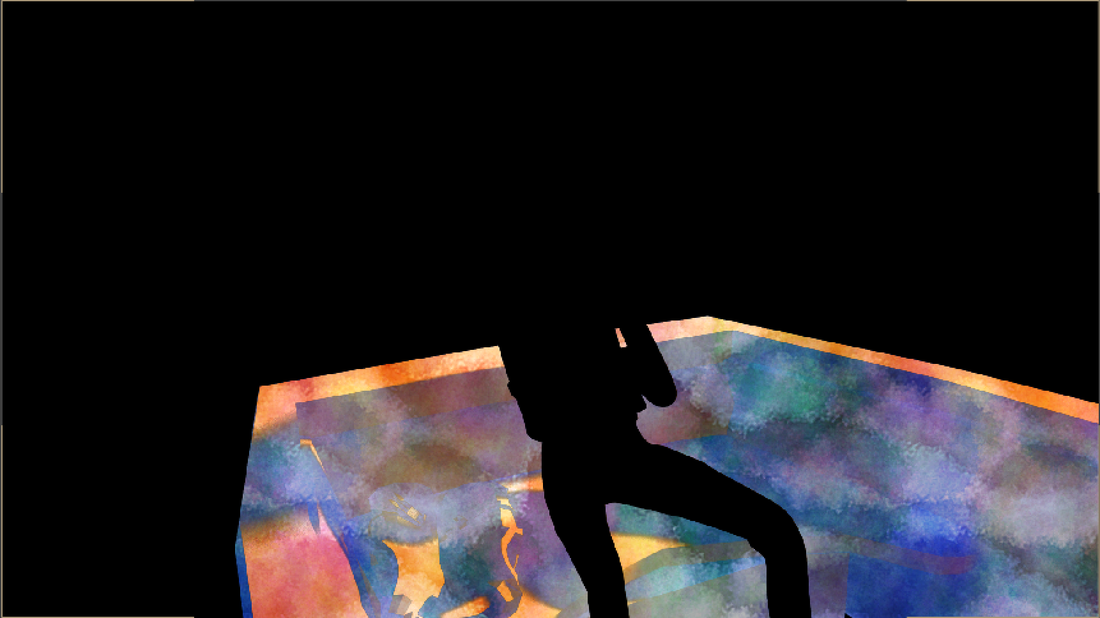
The entire composite of the character and boat are separated from the background by their character masks, so that the patterned overlay does not cover the background.

|
|
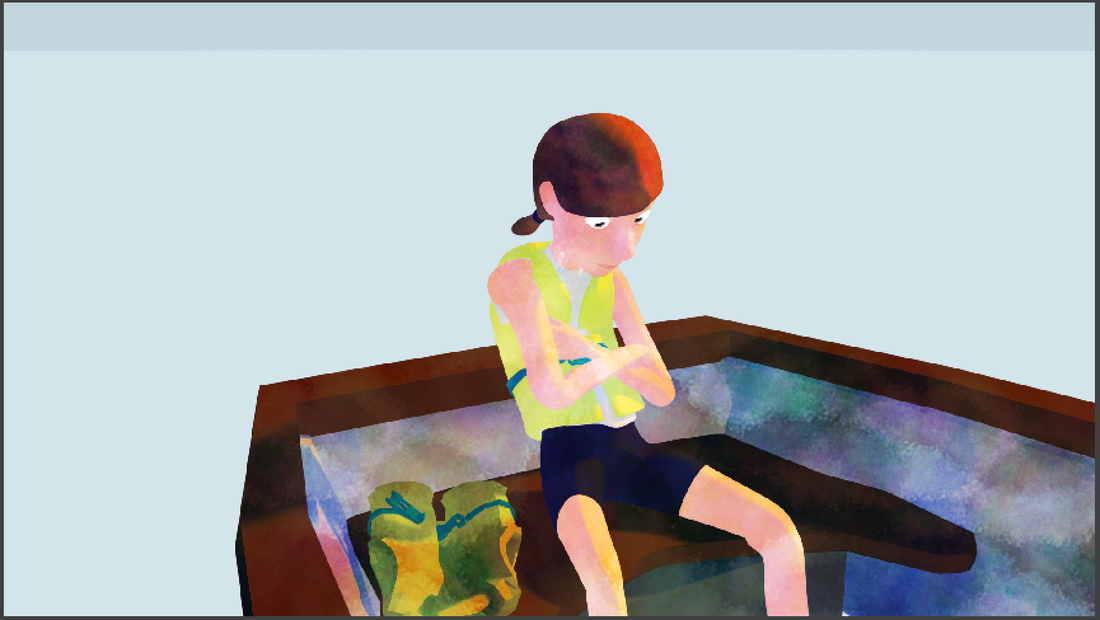
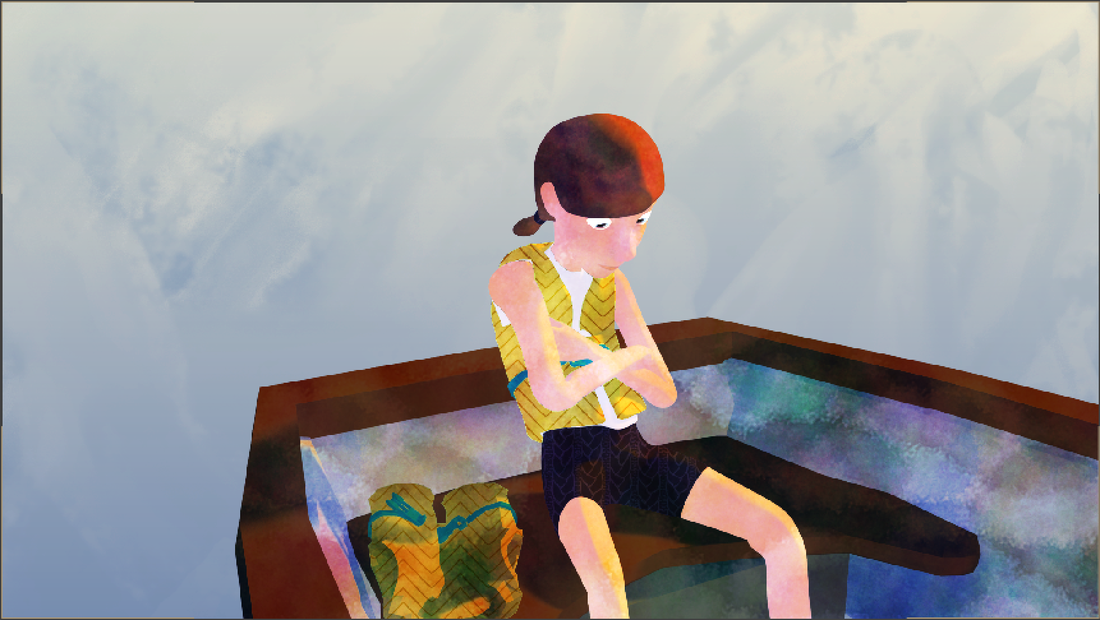
Using the same mask, I can drop in the sky which I have created.
|

|
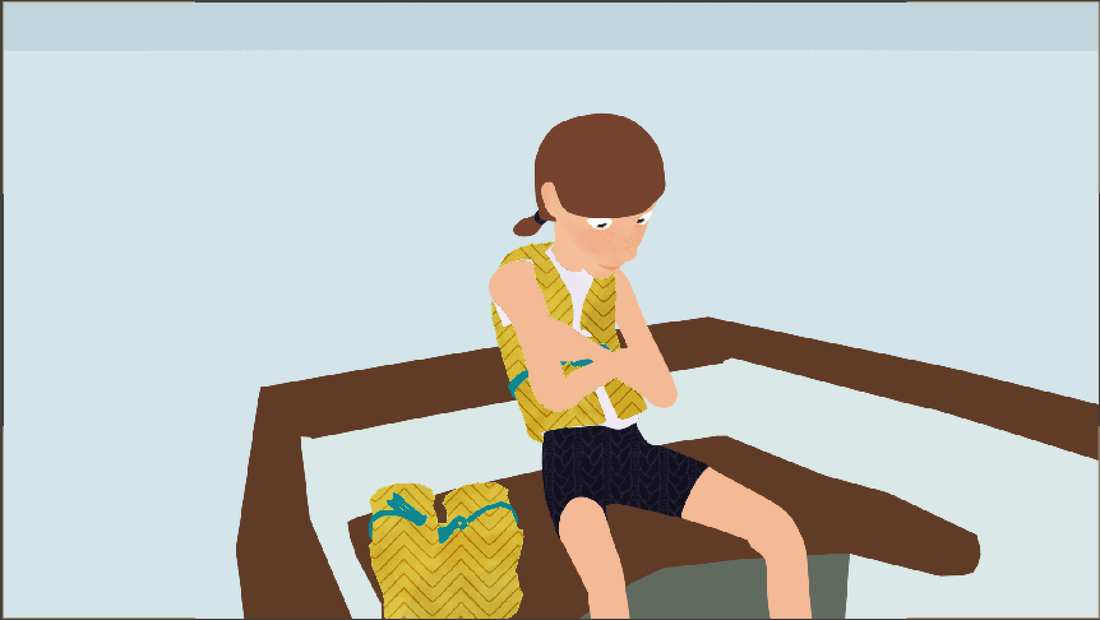
I really enjoy the "paper cut-out" look of the composite on the right, but I worry that the shot won't feel grounded or that small details might get lost if I don't have contact shadows to indicate the volume of the object. Therefore, the last step is multiplying an AO layer on top of the whole image in order to create the final composite on the left!
 RSS Feed
